



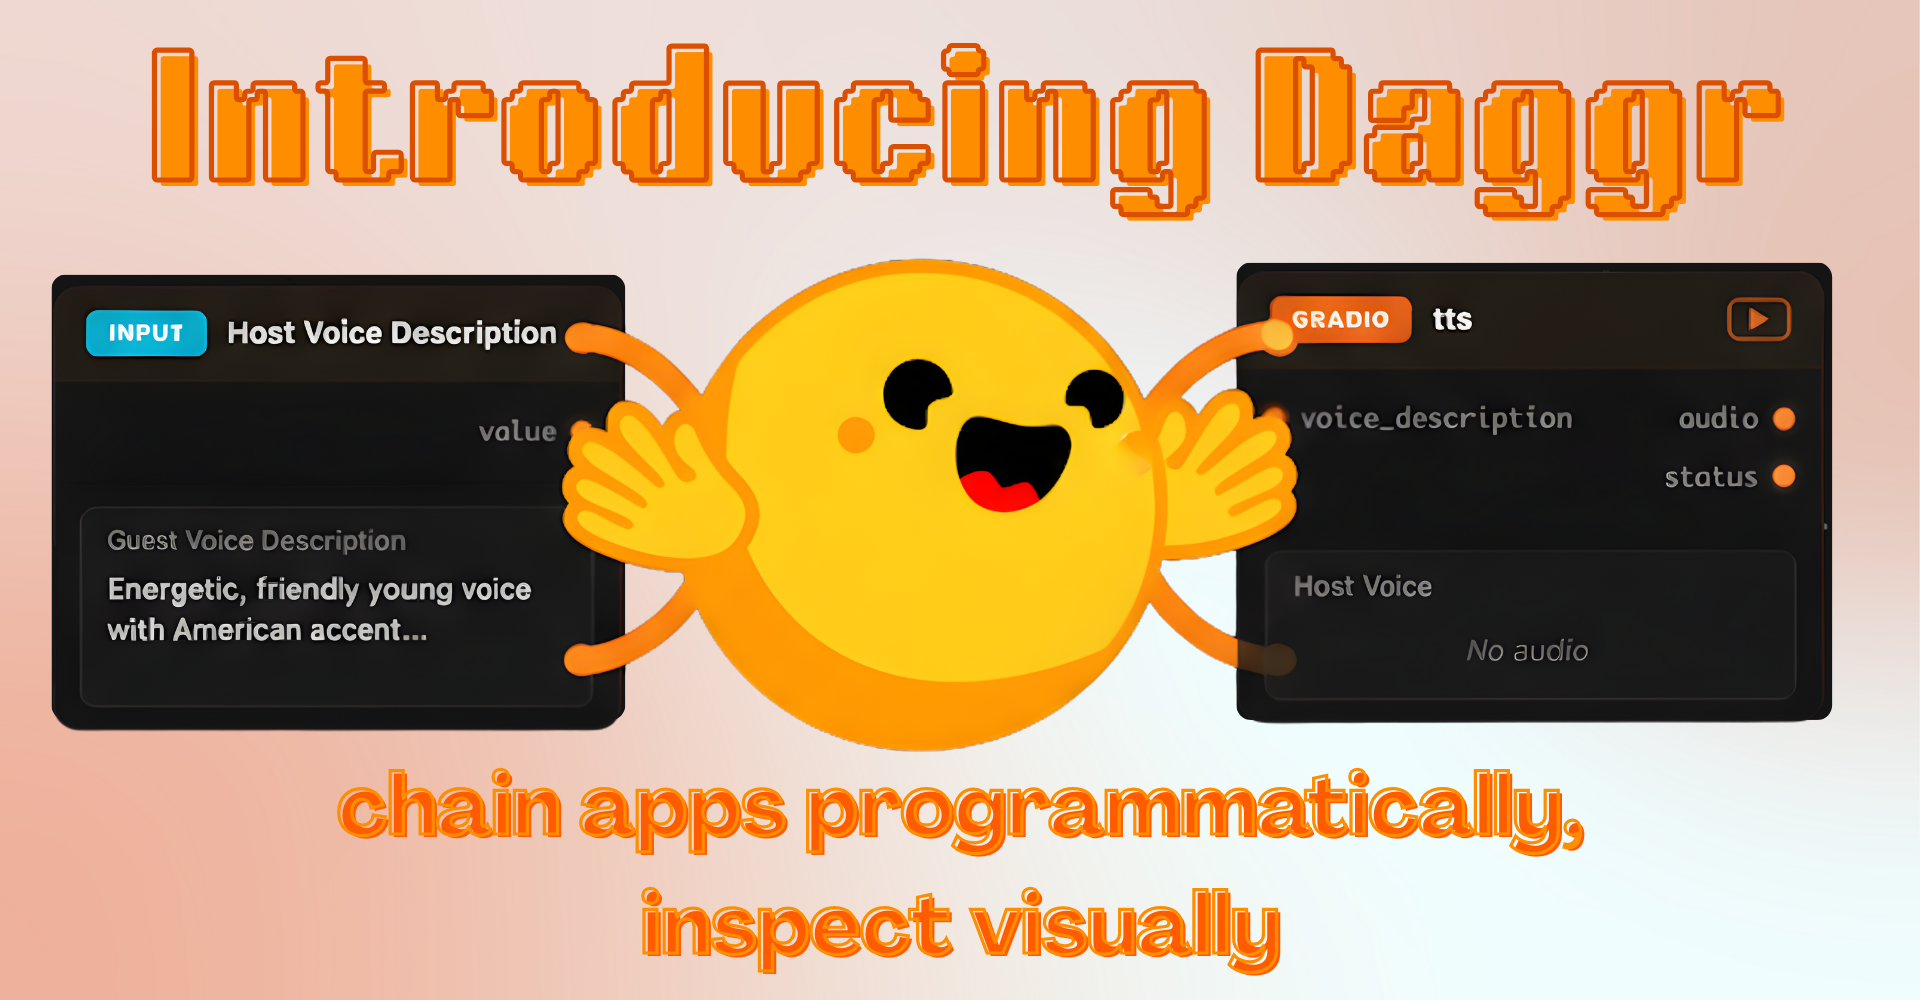
TL;DR: Daggr is a new open-source Python library for building AI workflows that connect Gradio apps, ML models, and custom functions. A visual canvas is automatically generated, allowing you to inspect intermediate outputs, rerun individual steps, and manage the state of complex pipelines, all with a few lines of Python code.
table of contents
Background Introduction Sharing workflows on different nodes End-to-end example Next steps
background
If you’ve ever built an AI application that combines multiple models or processing steps, you know the pain of chaining API calls, debugging pipelines, and losing track of intermediate results. If something goes wrong in step 5 of a 10-step workflow, you often need to rerun everything to see what happened.
Most developers build fragile scripts that are difficult to debug, or leverage powerful orchestration platforms designed for production pipelines rather than rapid experimentation.
We’ve been working on Daggr to solve problems we kept running into when building AI demos and workflows.
Visualize your code flow: Unlike node-based GUI editors where you visually drag and connect nodes, Daggr takes a code-first approach. When you define a workflow in Python, a visual canvas is automatically generated. This means you get the best of both worlds: versionable code and visual inspection of intermediate output.
Inspect and rerun any step: The visual canvas is not just for display. You can inspect the output of any node, change inputs, and rerun individual steps without running the entire pipeline. This is very useful if you are debugging a 10-step workflow and only step 7 is malfunctioning. You can also provide “backup nodes” to replace one model or space with another to build resilient workflows.
First-class Gradio integration: Daggr is built by the Gradio team, so it works seamlessly with Gradio Spaces. You can point to any public (or private) space and use it as a node in your workflow. No adapters or wrappers required. Just reference the space name and API endpoint.
State persistence: Daggr automatically saves workflow state, input values, cached results, and canvas position so you can pick up where you left off. Use Sheets to manage multiple workspaces within the same app.
Start
Install daggr using pip or uv. All you need is Python 3.10 or later.
pip install daggr uv pip install daggr
Here’s a simple example that generates an image and removes its background. Check out the API reference for this space at the bottom of the space to see what inputs it takes and what outputs it produces. In this example, Space returns both the original image and the edited image, so it only returns the edited image.
import random
import gladio as grams
from dagger import GradioNode, graph image_gen = GradioNode(
“hf-applications/Z-Image-Turbo”api_name=“/generate_image”input={
“prompt”: gr.Textbox( label=“prompt”value =“A cheetah runs across the grassy savannah.”line=3,),
“height”: 1024,
“width”: 1024,
“seed”: random.random, }, output={
“image”: gr.Image(label=“Generated image”), }, ) bg_remover = GradioNode(
“hf-applications/background-removal”api_name=“/image”input={
“image”: image_gen.image, }, output={
“Original image”: none,
“Final image”: gr.Image(label=“Final image”), }, ) graph = graph( name=“Transparent background generator”nodes=(image_gen, bg_remover) )graph.launch()
that’s it. Running this script automatically launches a visual canvas served on port 7860 that displays a live link that can be shared, displays both connected nodes, and displays inputs that can be modified and outputs that can be inspected at each step.
Node type
Daggr supports three types of nodes.
A GradioNode calls a Gradio Space API endpoint or a locally served Gradio app. If you pass run_locally=True, Daggr automatically clones the space, creates an isolated virtual environment, and launches the app. If local execution fails, it gracefully falls back to the remote API.
Node = GradioNode(
“User name/Space name”api_name=“/predict”input={“Sentence”: gr.Textbox(label=“input”)}, output={“result”: gr.Textbox(label=“output”)}, ) node = GradioNode(
“hf-applications/background-removal”api_name=“/image”run_locally=truthinput={“image”: gr.Image(label=“input”)}, output={“Final image”: gr.Image(label=“output”)},
FnNode — Executes a custom Python function.
surely process(Text: str) -> str:
return text.upper() node = FnNode( fn=process, input={“Sentence”: gr.Textbox(label=“input”)}, output={“result”: gr.Textbox(label=“output”)},)
InferenceNode — Invokes the model via the hug face inference provider.
Node = InferenceNode( Model =“Gekshotai/Kimi-K2.5:nova”input={“prompt”: gr.Textbox(label=“prompt”)}, output={“response”: gr.Textbox(label=“response”)},)
Share your workflow
Generate a public URL using Gradio tunneling.
graph.launch(share=truth)
For permanent hosting, use the Gradio SDK to deploy to Hugging Face Spaces. Just add daggr to requirements.txt.
End-to-end example using different nodes
Next, you’ll develop an app that takes in images and generates 3D assets. This demo can be run with daggr 0.4.3. Here are the steps:
Take an image and remove the background. For this, we will clone BiRefNet Space and run it locally. Downscale the image for efficiency. Create a simple function for this using FnNode. Generate images in 3D asset style for better results. Use InferenceNode in the Flux.2-klein-4B model in the inference provider. Pass the output image to the 3D generator: Send the output image to a Trellis.2 space hosted in Spaces.
Spaces running locally may bring the model to CUDA (using to.(“cuda”)) or ZeroGPU in the application file. To disable this behavior and run your model on the CPU (useful if you have a device without an NVIDIA GPU), create a clone by duplicating the space you want to use.
The resulting graph will look like this:

Let’s write the first step, background removal. Clone and run this space locally. This space runs on the CPU and takes up to 13 seconds to run. If you have an NVIDIA GPU, you can replace it with this app.
from dagger import FnNode, GradioNode, InferenceNode, graph background_remover = GradioNode(
“Marbe/Background Removal”api_name=“/image”run_locally=truthinput={
“image”: gr.Image(), }, output={
“Original image”: none,
“Final image”: gr.Image( label=“Final image”
), },)
In the second step, we need to create a helper function that downscales the image and passes it to the FnNode.
from pill import image
from daggr.state import get_daggr_files_dir
surely Downscale image to file(image: Any,scale: float = 0.25) -> str | none: pil_img = image.open(image)scale_f = maximum(0.05, minutes(1.0, float(scale))) w, h = pil_img.size new_w = maximum(1, integer(w * scale_f)) new_h = maximum(1, integer(h *scale_f)) resize = pil_img.resize((new_w, new_h), resample=Image.LANCZOS) out_path = get_daggr_files_dir() / debt”{uuid.uuid4()}.png”
resize.save(out_path)
return str(Outpass)
Now you can pass a function to initialize the FnNode.
downscaler = FnNode( downscale_image_to_file, name=“Downscale images for inference”input={
“image”:background_remover.final_image,
“scale”: gr.Slider( label=“Downscale factor”min=0.25max =0.75step =0.05value =0.25), }, output={
“image”: gr.Image(label=“Reduced image”, type=“File path”), },)
Next, create an InferenceNode using the Flux model.
flux_enhancer = InferenceNode( model =“black-forest-labs/FLUX.2-klein-4B:fal-ai”input={
“image”: downscaler.image,
“prompt”: gr.Textbox( label=“prompt”value =(“Convert this into a clean 3D asset rendering.”), number of lines =3), }, output={
“image”: gr.Image(label=“3D compatible enhanced image”), },)
When you use InferenceNode to deploy your app to Hugging Face Spaces, use fine-grained Hugging Face access tokens with only the option to “Make a call to an inference provider.”
The final node is a 3D generation that queries the Trellis.2 space on the Hugging Face.
trellis_3d = GradioNode(
“Microsoft/TRELLIS.2”api_name=“/image_to_3d”input={
“image”: flux_enhancer.image,
“ss_guidance_strength”: 7.5,
“ss_sampling_steps”: 12}, output={
“GLB”: gr.HTML(label=“3D Asset (GLB Preview)”), },)
Chaining them together and launching the app is as simple as:
graph = graph( name=“Image to 3D Asset Pipeline”nodes=(background_remover, downscaler, flux_enhancer, trellis_3d), )
if __name__ == “__Major__”:graph.launch()
You can find the complete example running in this space. To run it locally, just grab app.py, install the requirements, and log in to Hugging Face Hub.
next step
Daggr is in beta and intentionally lightweight. The API may change between versions, and although workflow state is kept locally, data may be lost during updates. If you have a feature request or find a bug, please open an issue here. We’d love to hear your feedback! Share your daggr workflow with Gradio on social for a chance to be featured. Check out all featured works here.

